You might recall a prior post on The Everyday Gourmet stating that my favorite kitchen gadget is a lemon squeezer (insert link). One of the reasons that is true is that I am an acid freak. No, I don’t mean the kind of acid that was a favorite of Hunter S Thompson. I mean the kind you find in lemons. Limes. Oranges. Pickles. Vinegar (I also wrote a post about The Glories of Vinegar a while back). That wonderful stuff that is tart, makes your lips pucker, and adds a punch to just about anything. Lemons in particular are just so great – they’re so versatile! I don’t think there is a day all year that I don’t have fresh lemons in the bowl in my counter.
But for those days when you don’t happen to have a lemon on hand, or want an even punchier punch than a fresh lemon can give you, there is the wonder of preserved lemons. They are very popular in Turkish, Moroccan and other middle eastern food, complimenting and balancing the spices used in those styles of cooking. But they’re really pretty great in a number of foods. I’m going to tell you how to make your own preserved lemons (it’s so easy, you’ll be amazed, and you’ll never spend $10-$15 on a jar of them again, trust me), but let me give you some thoughts on how to use them once you have them.
The process of making preserved lemons uses salt to break down the skin, so that the entire lemon section, skin and all, becomes usable in cooking without the bitterness you get from fresh pith. They’re a highly concentrated lemon-zest that is sublimely salty. They’re strong, so use them sparingly, and don’t add additional salt until you’ve tasted your near final dish. Preserved lemons are a wonderful addition to fish. Imagine taking a swordfish filet, marinating it in olive oil, garlic and thyme, then grilling it up to perfection, and topping it with a bit of chopped preserved lemon lightly sautéed with some leeks, garlic, and thyme. Or use it in a braised dish of chicken, lamb or rabbit, mingling the tang of the preserved lemon with cinnamon, clove, white wine, tomatoes, black pepper and a hint of curry powder. You can get a lot more inventive with preserved lemons, and there are plenty of recipes on line to prove it. But let’s get to the making of the yummy little things.
First of all, find an empty jar that holds about 8-10 ounces and has a tight fitting lid. All the better if it’s a pretty jar, particularly if you want to make and give these as a gift. Make sure the jar is clean, of course.
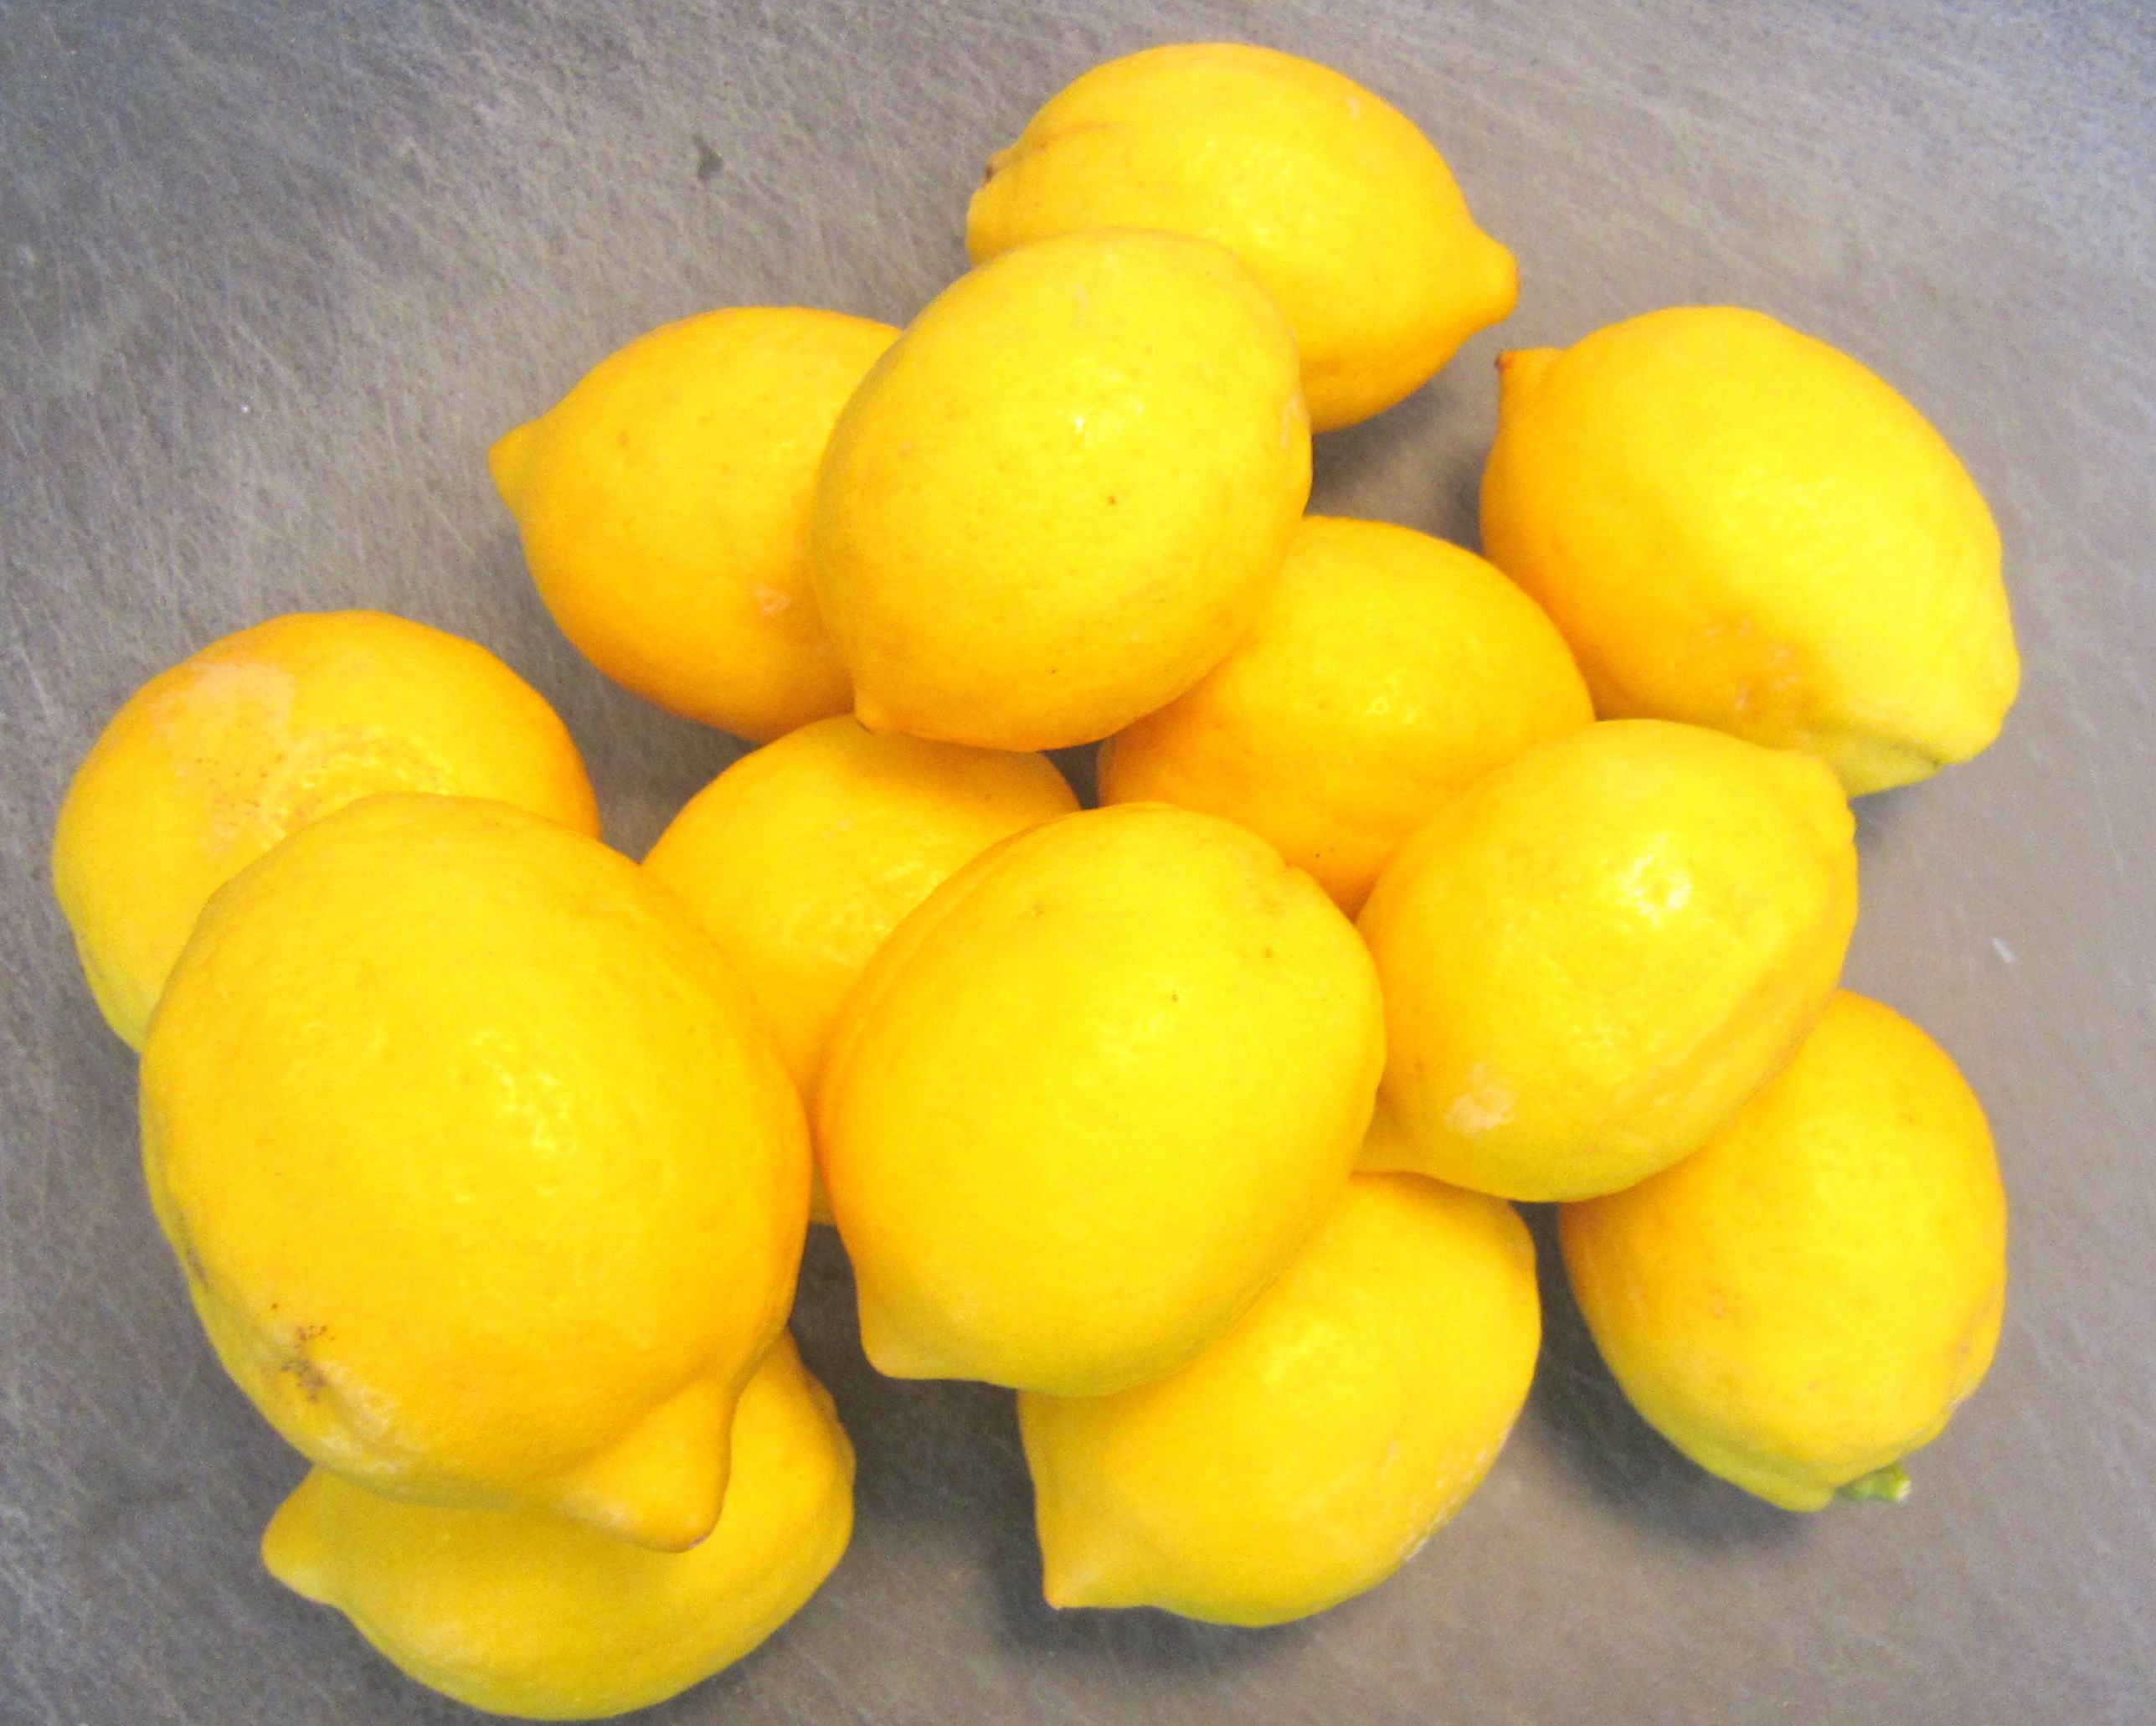
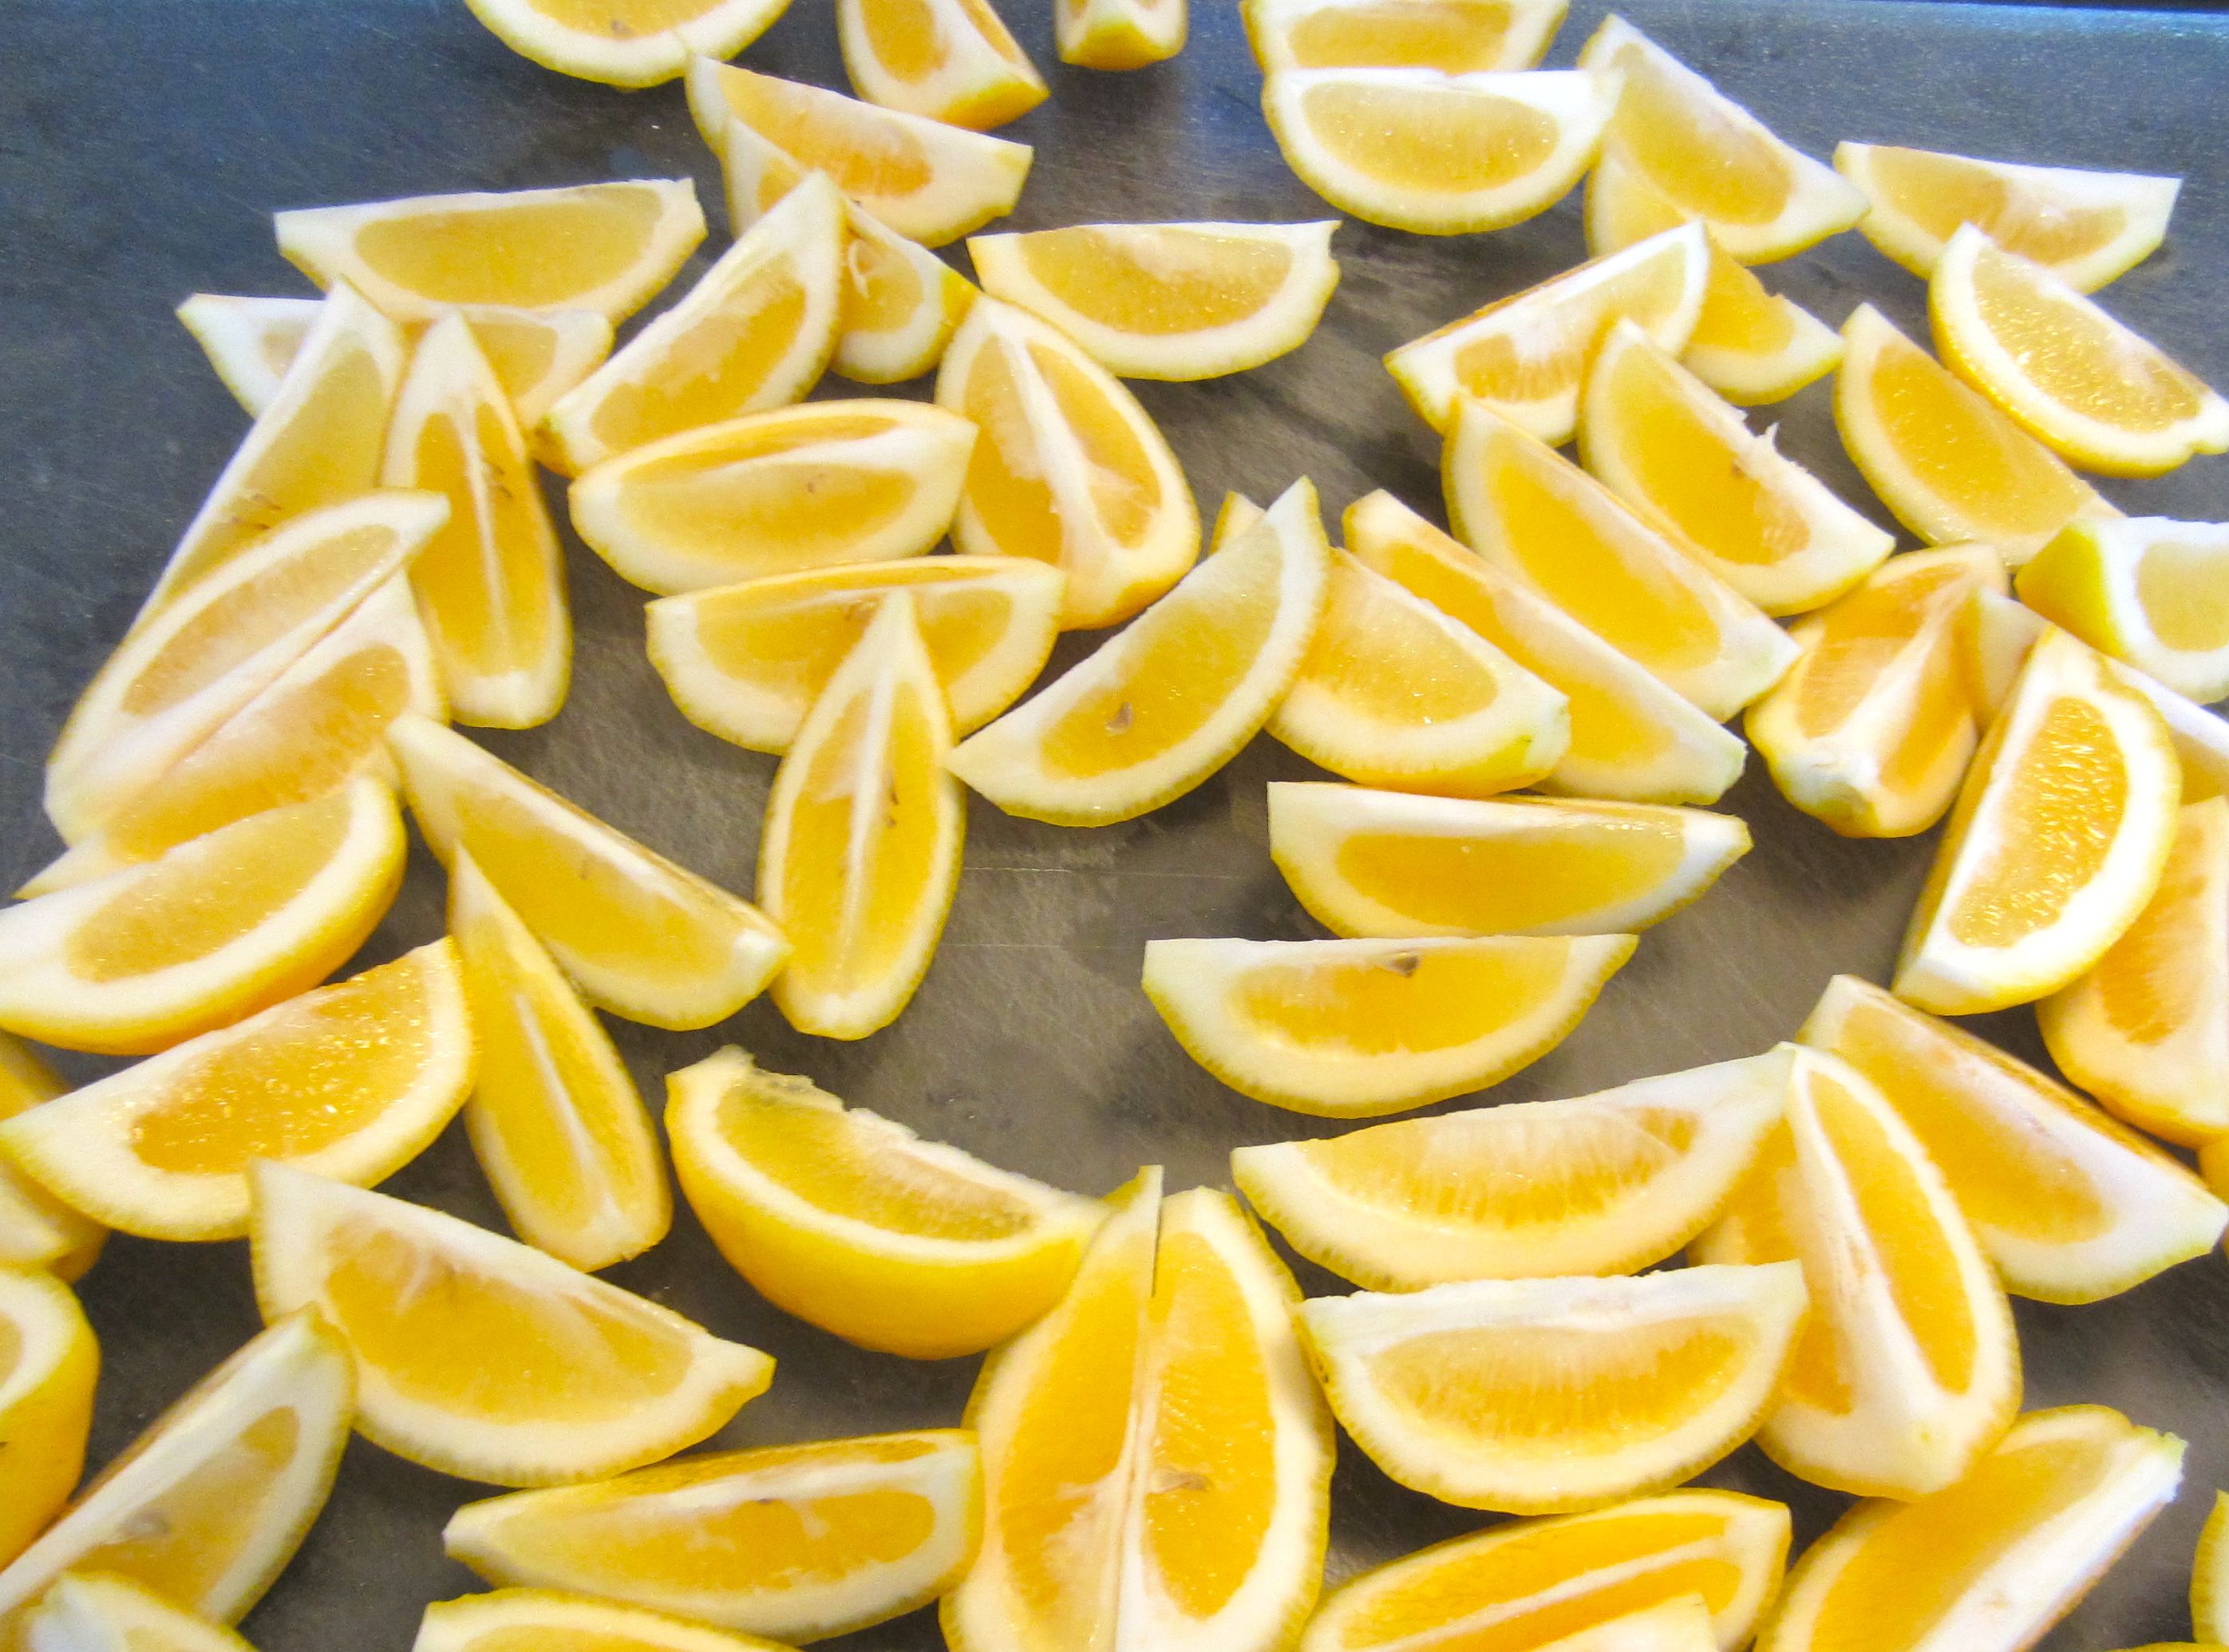
Now take 6-8 lemons, preferably Meyer lemons, depending on size and cut them into wedges (cut a small lemon into quarters lengthwise, a medium lemon into sixths lengthwise). Remove any obvious seeds but don’t take the wedges apart too much to get them…they can always be removed before chopping and using the lemons once preserved.
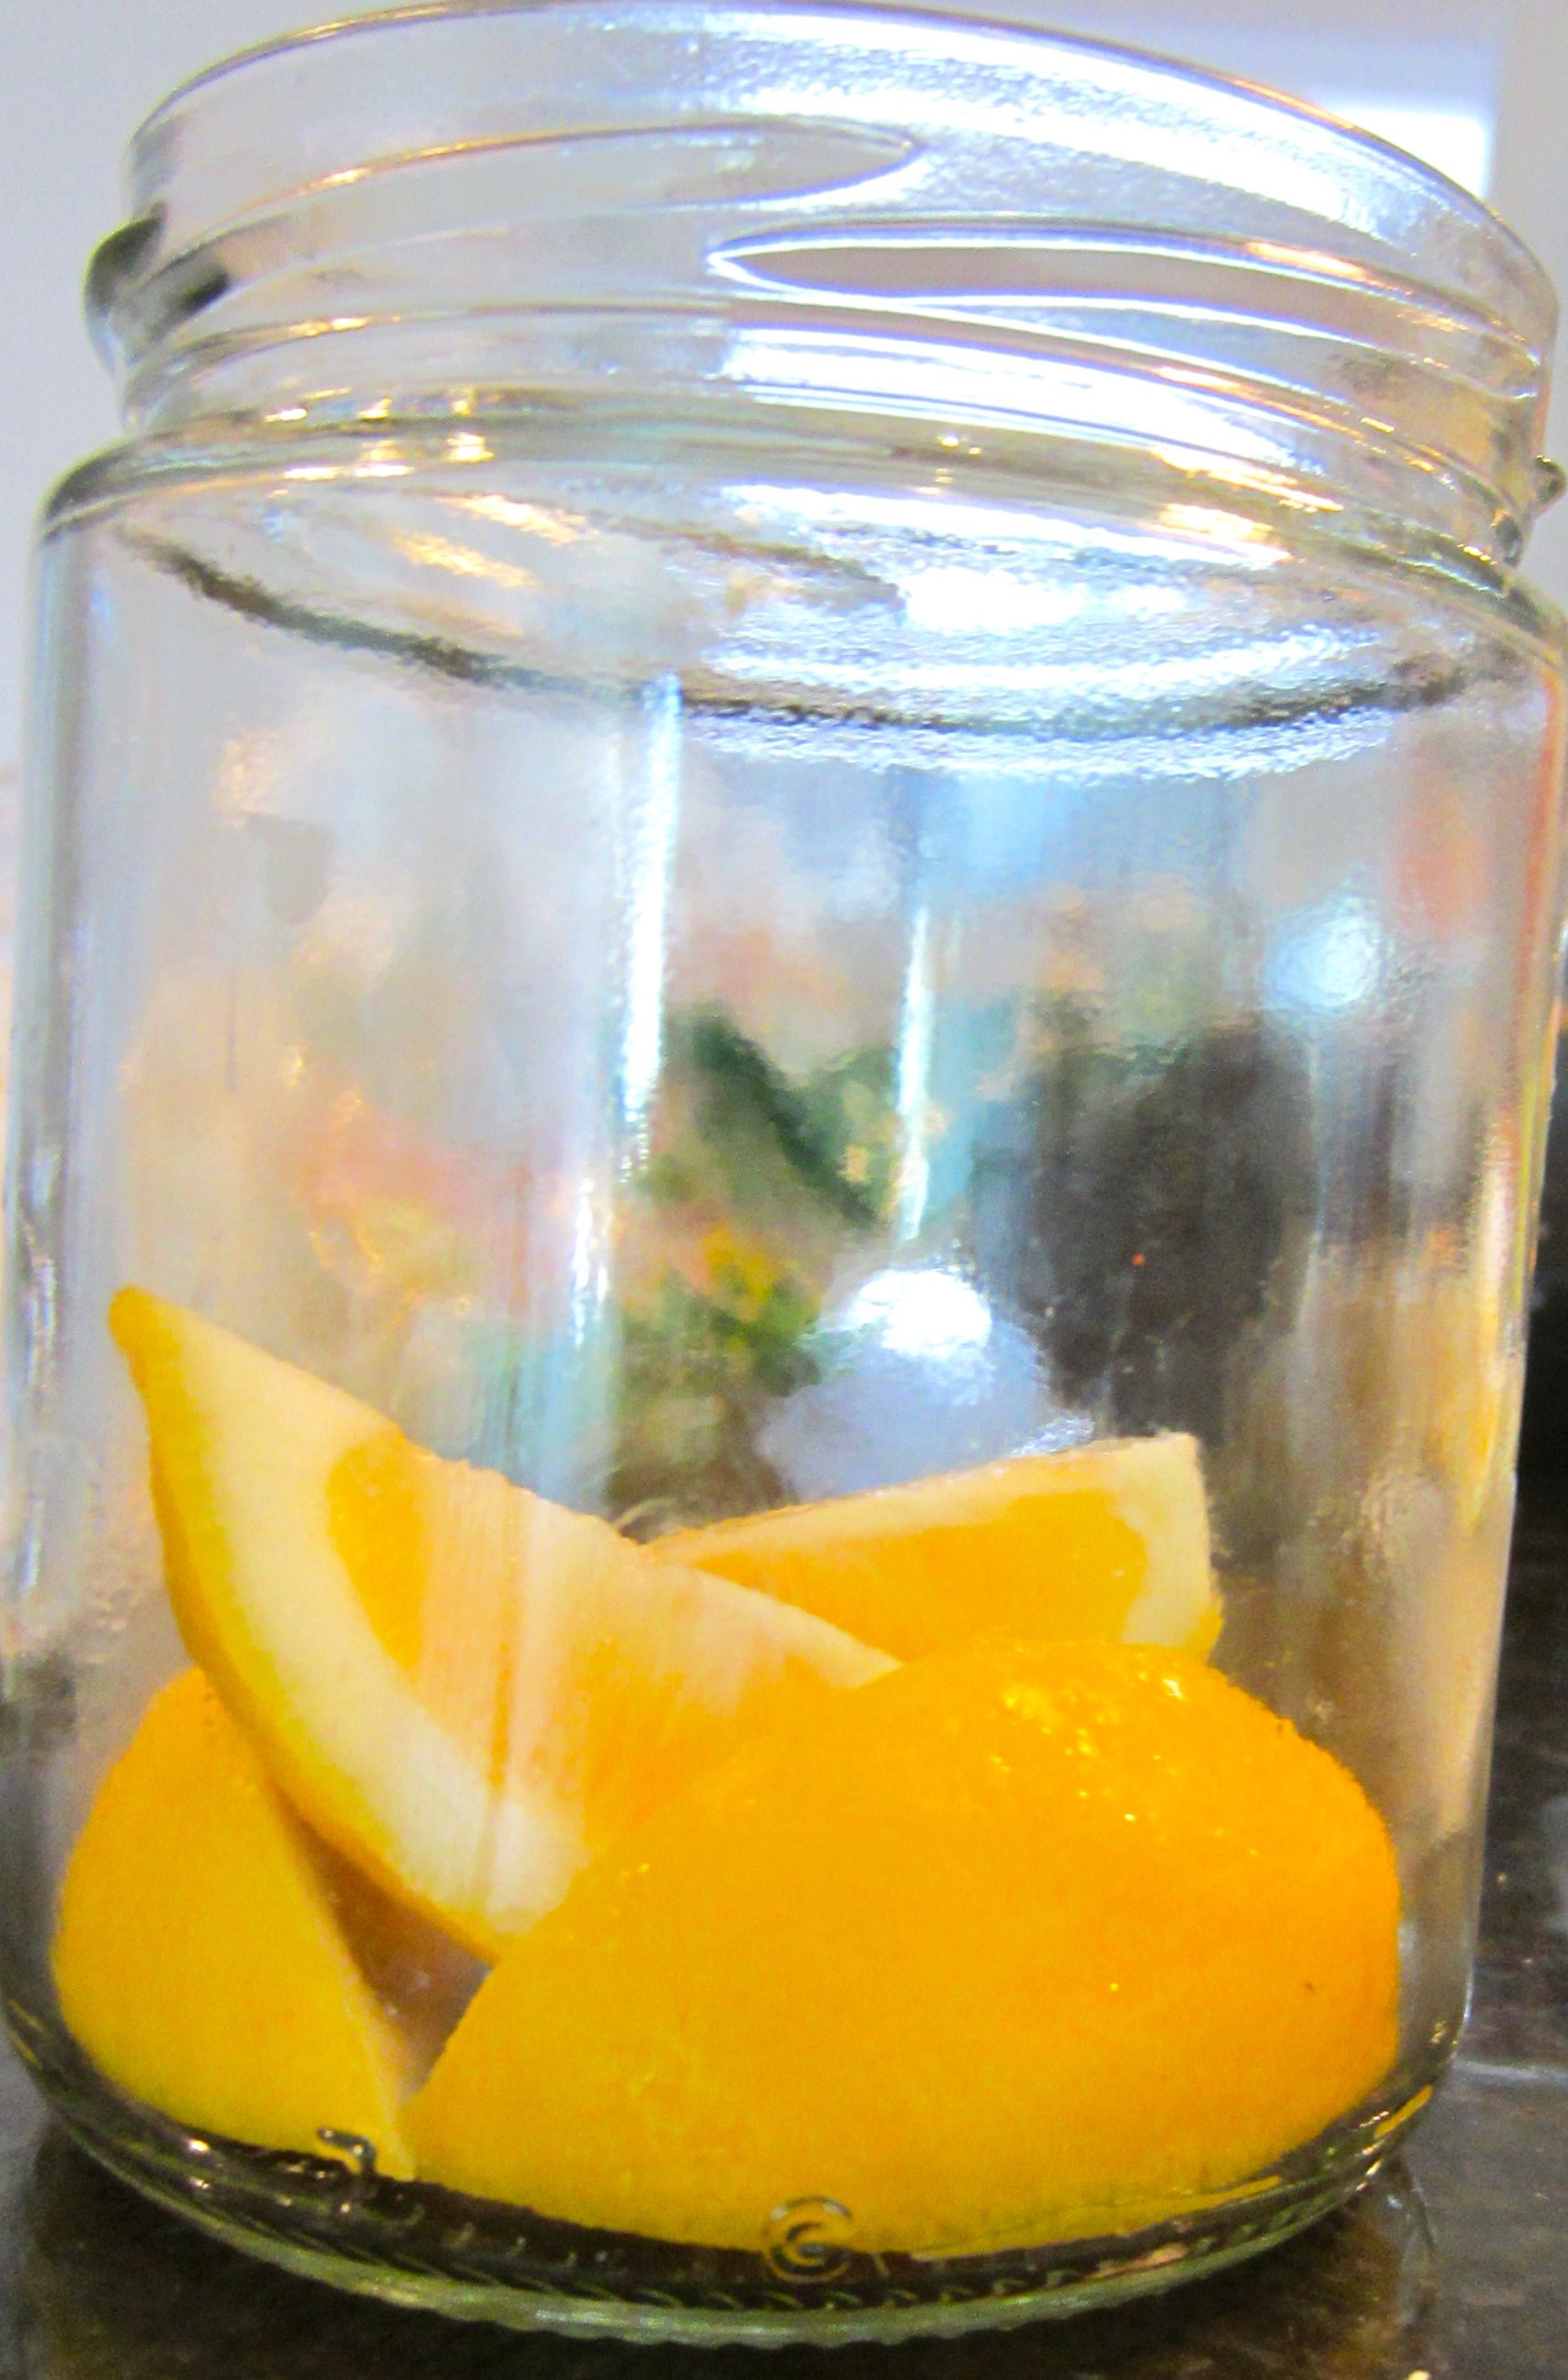
Put one layer of lemon wedges in the bottom of the jar, placing them around the edge of the bottom, with the skins facing out, then fill in the center with another wedge.
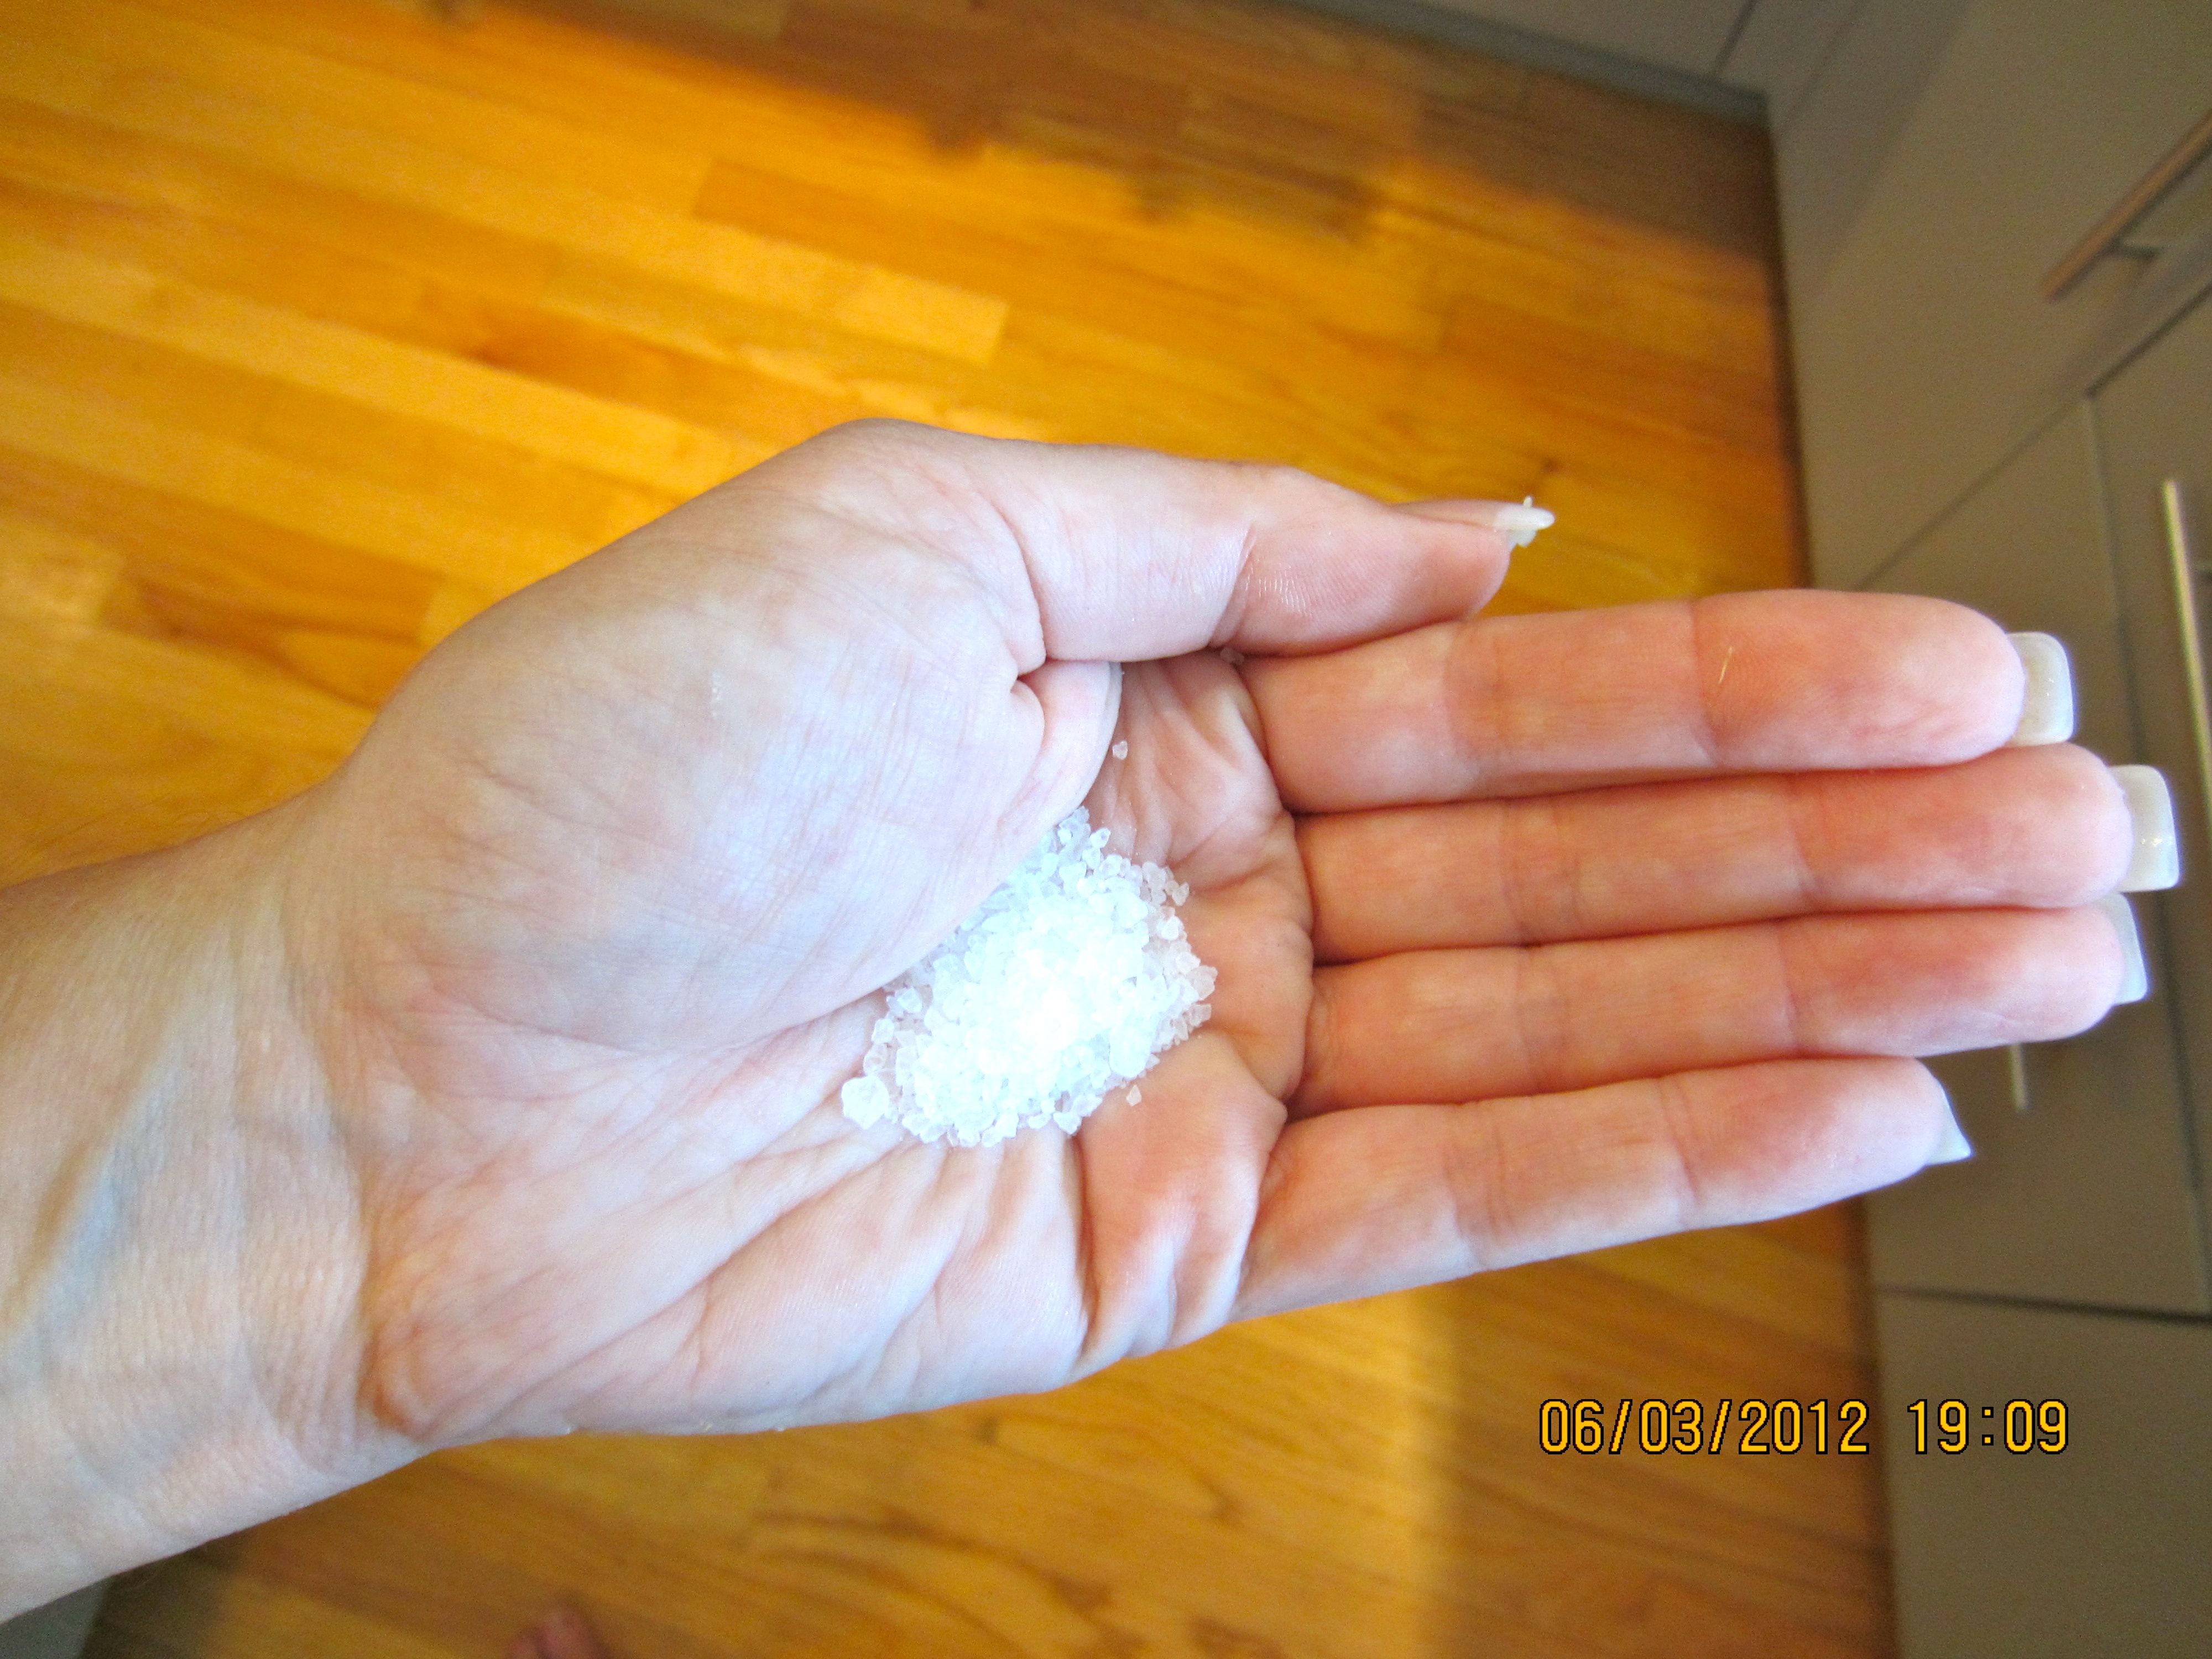
Top the layer with what will look like a ridiculous amount of salt. DO NOT SKIMP on the salt or the preservation process will fail and your lemons will simply spoil. So take about 1 Tbsp of coarse salt (not fine or kosher…make sure it’s coarse grain) and sprinkle it evenly over the layer you placed in the bottom.
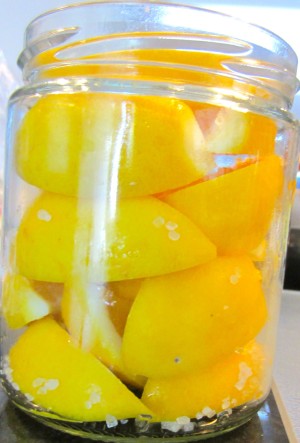
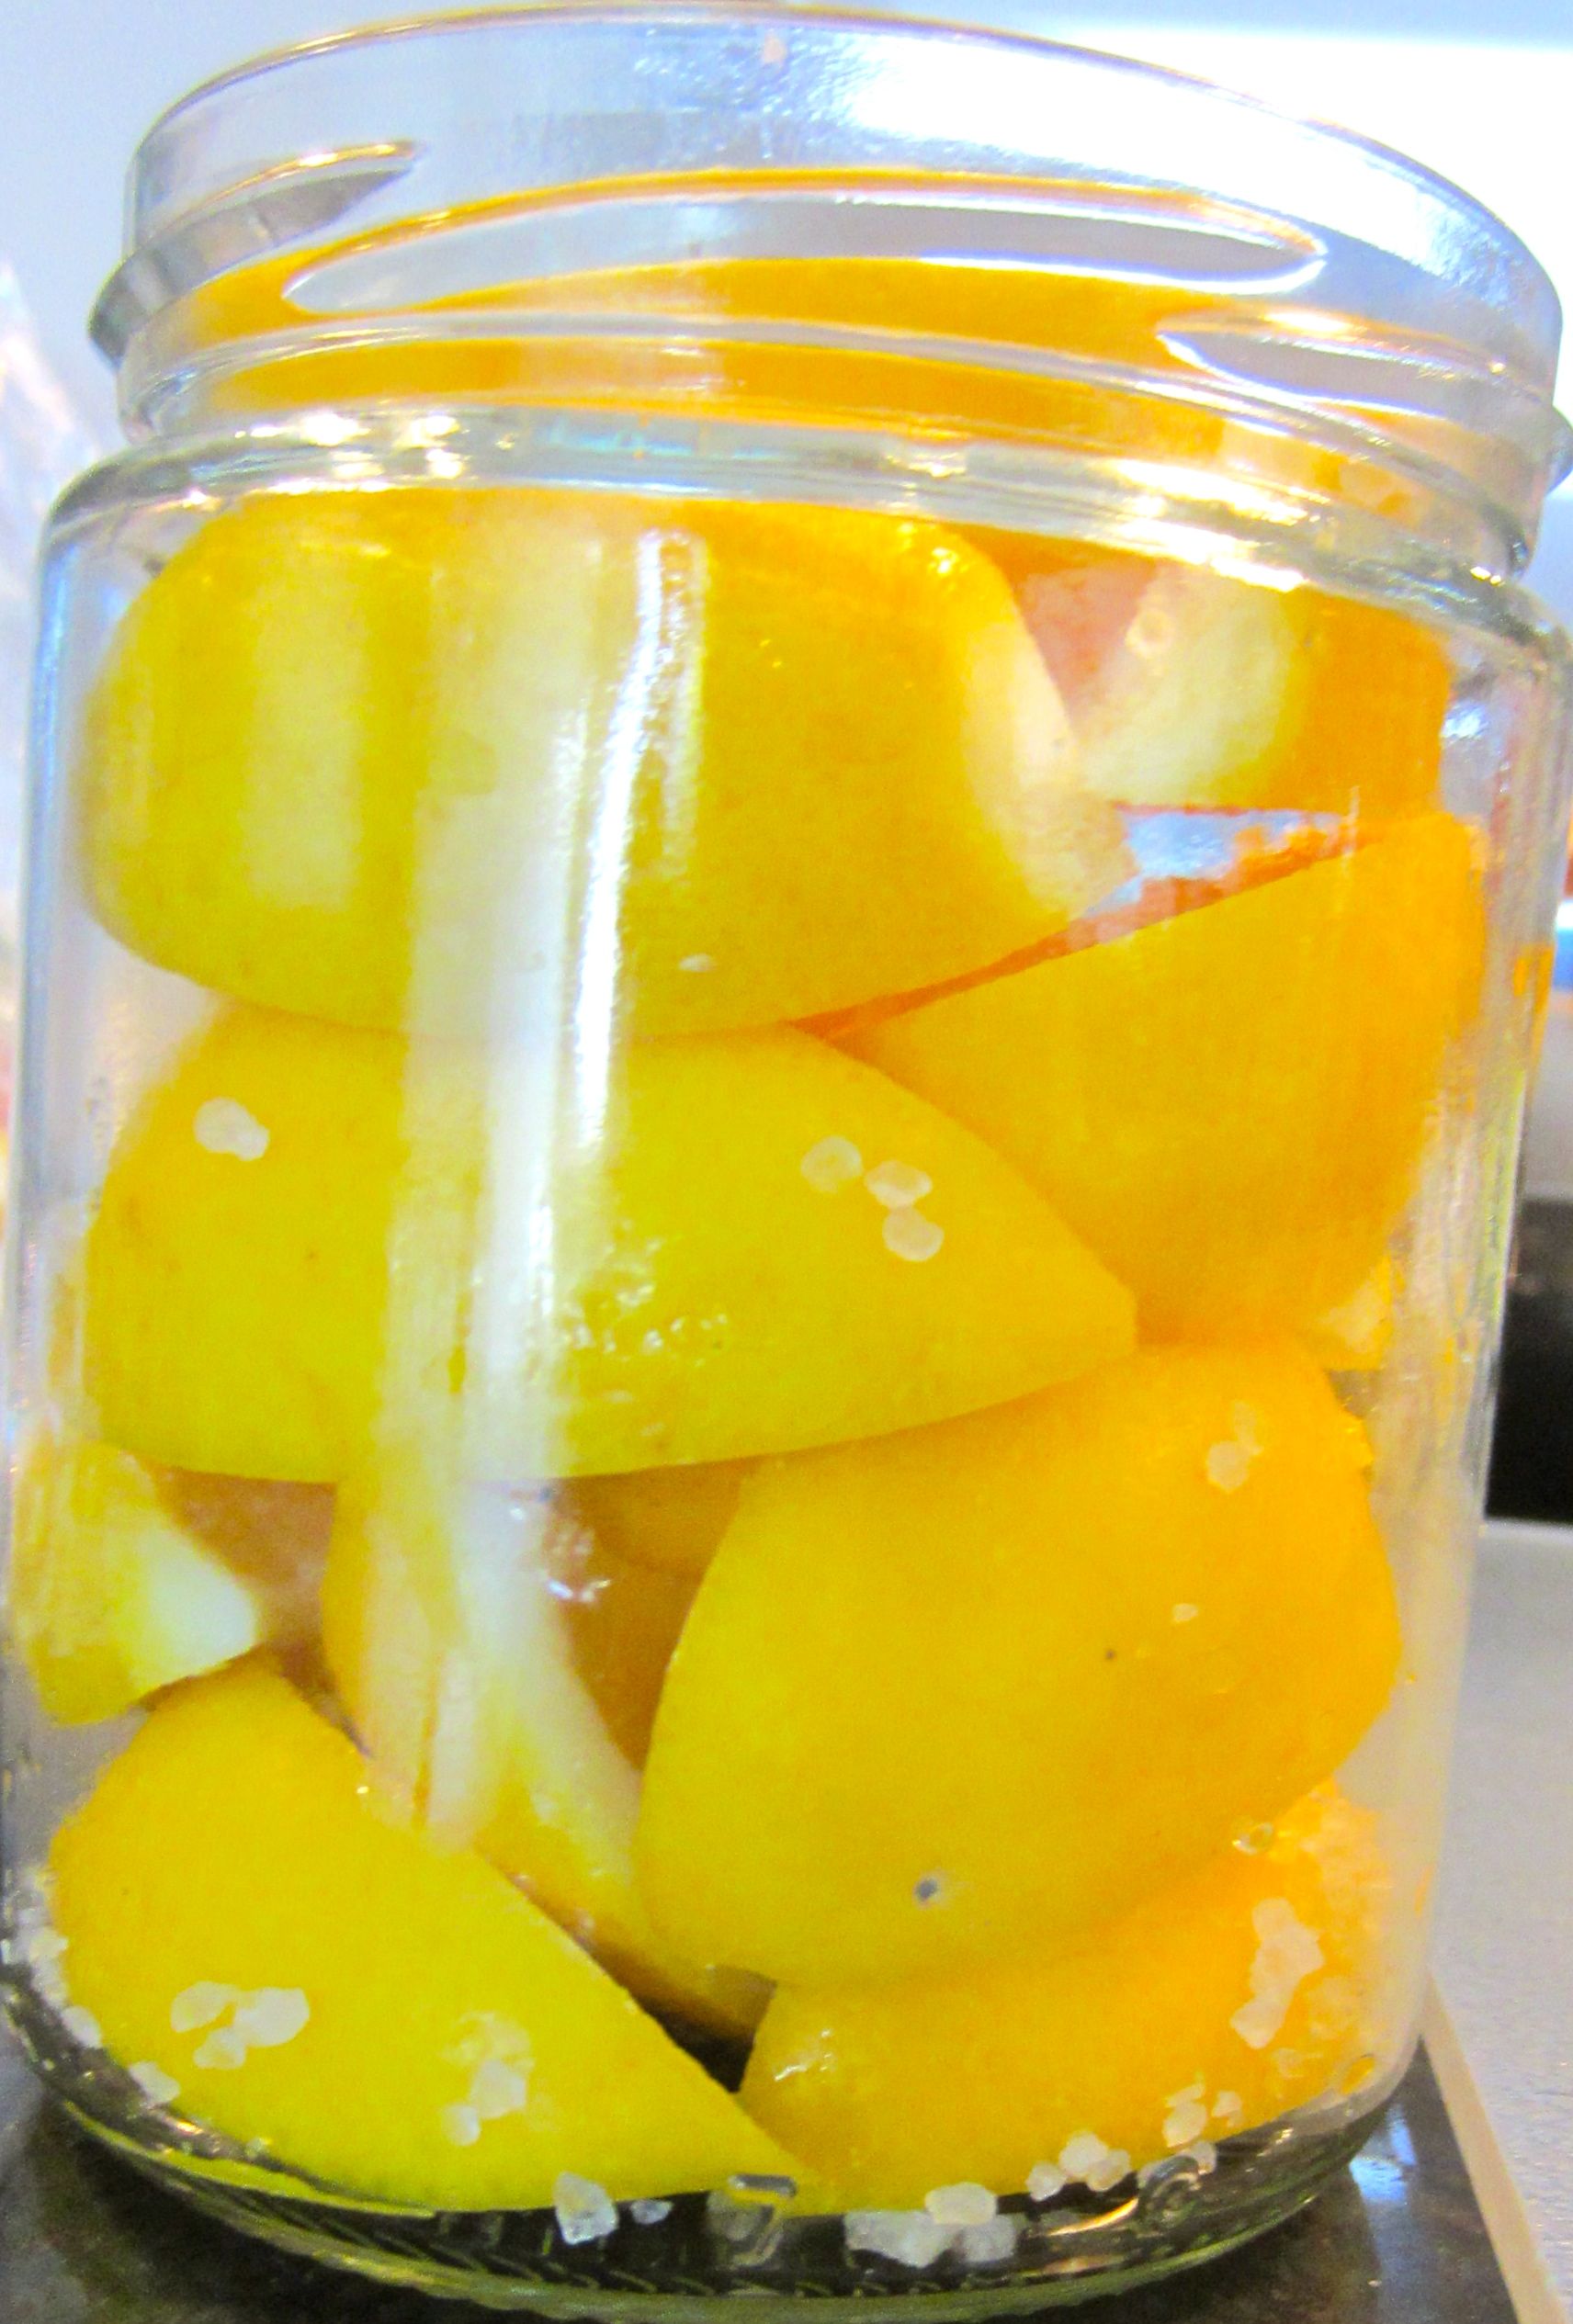
Now simply repeat. Place another layer of lemon wedges on top of the prior layer, skins facing out and overlapping slightly, so that you end up with a very pretty pattern when the jar is full. Top EACH layer with the same amount of salt as you go. When the jar is full to the very top, the lemons will look like this:
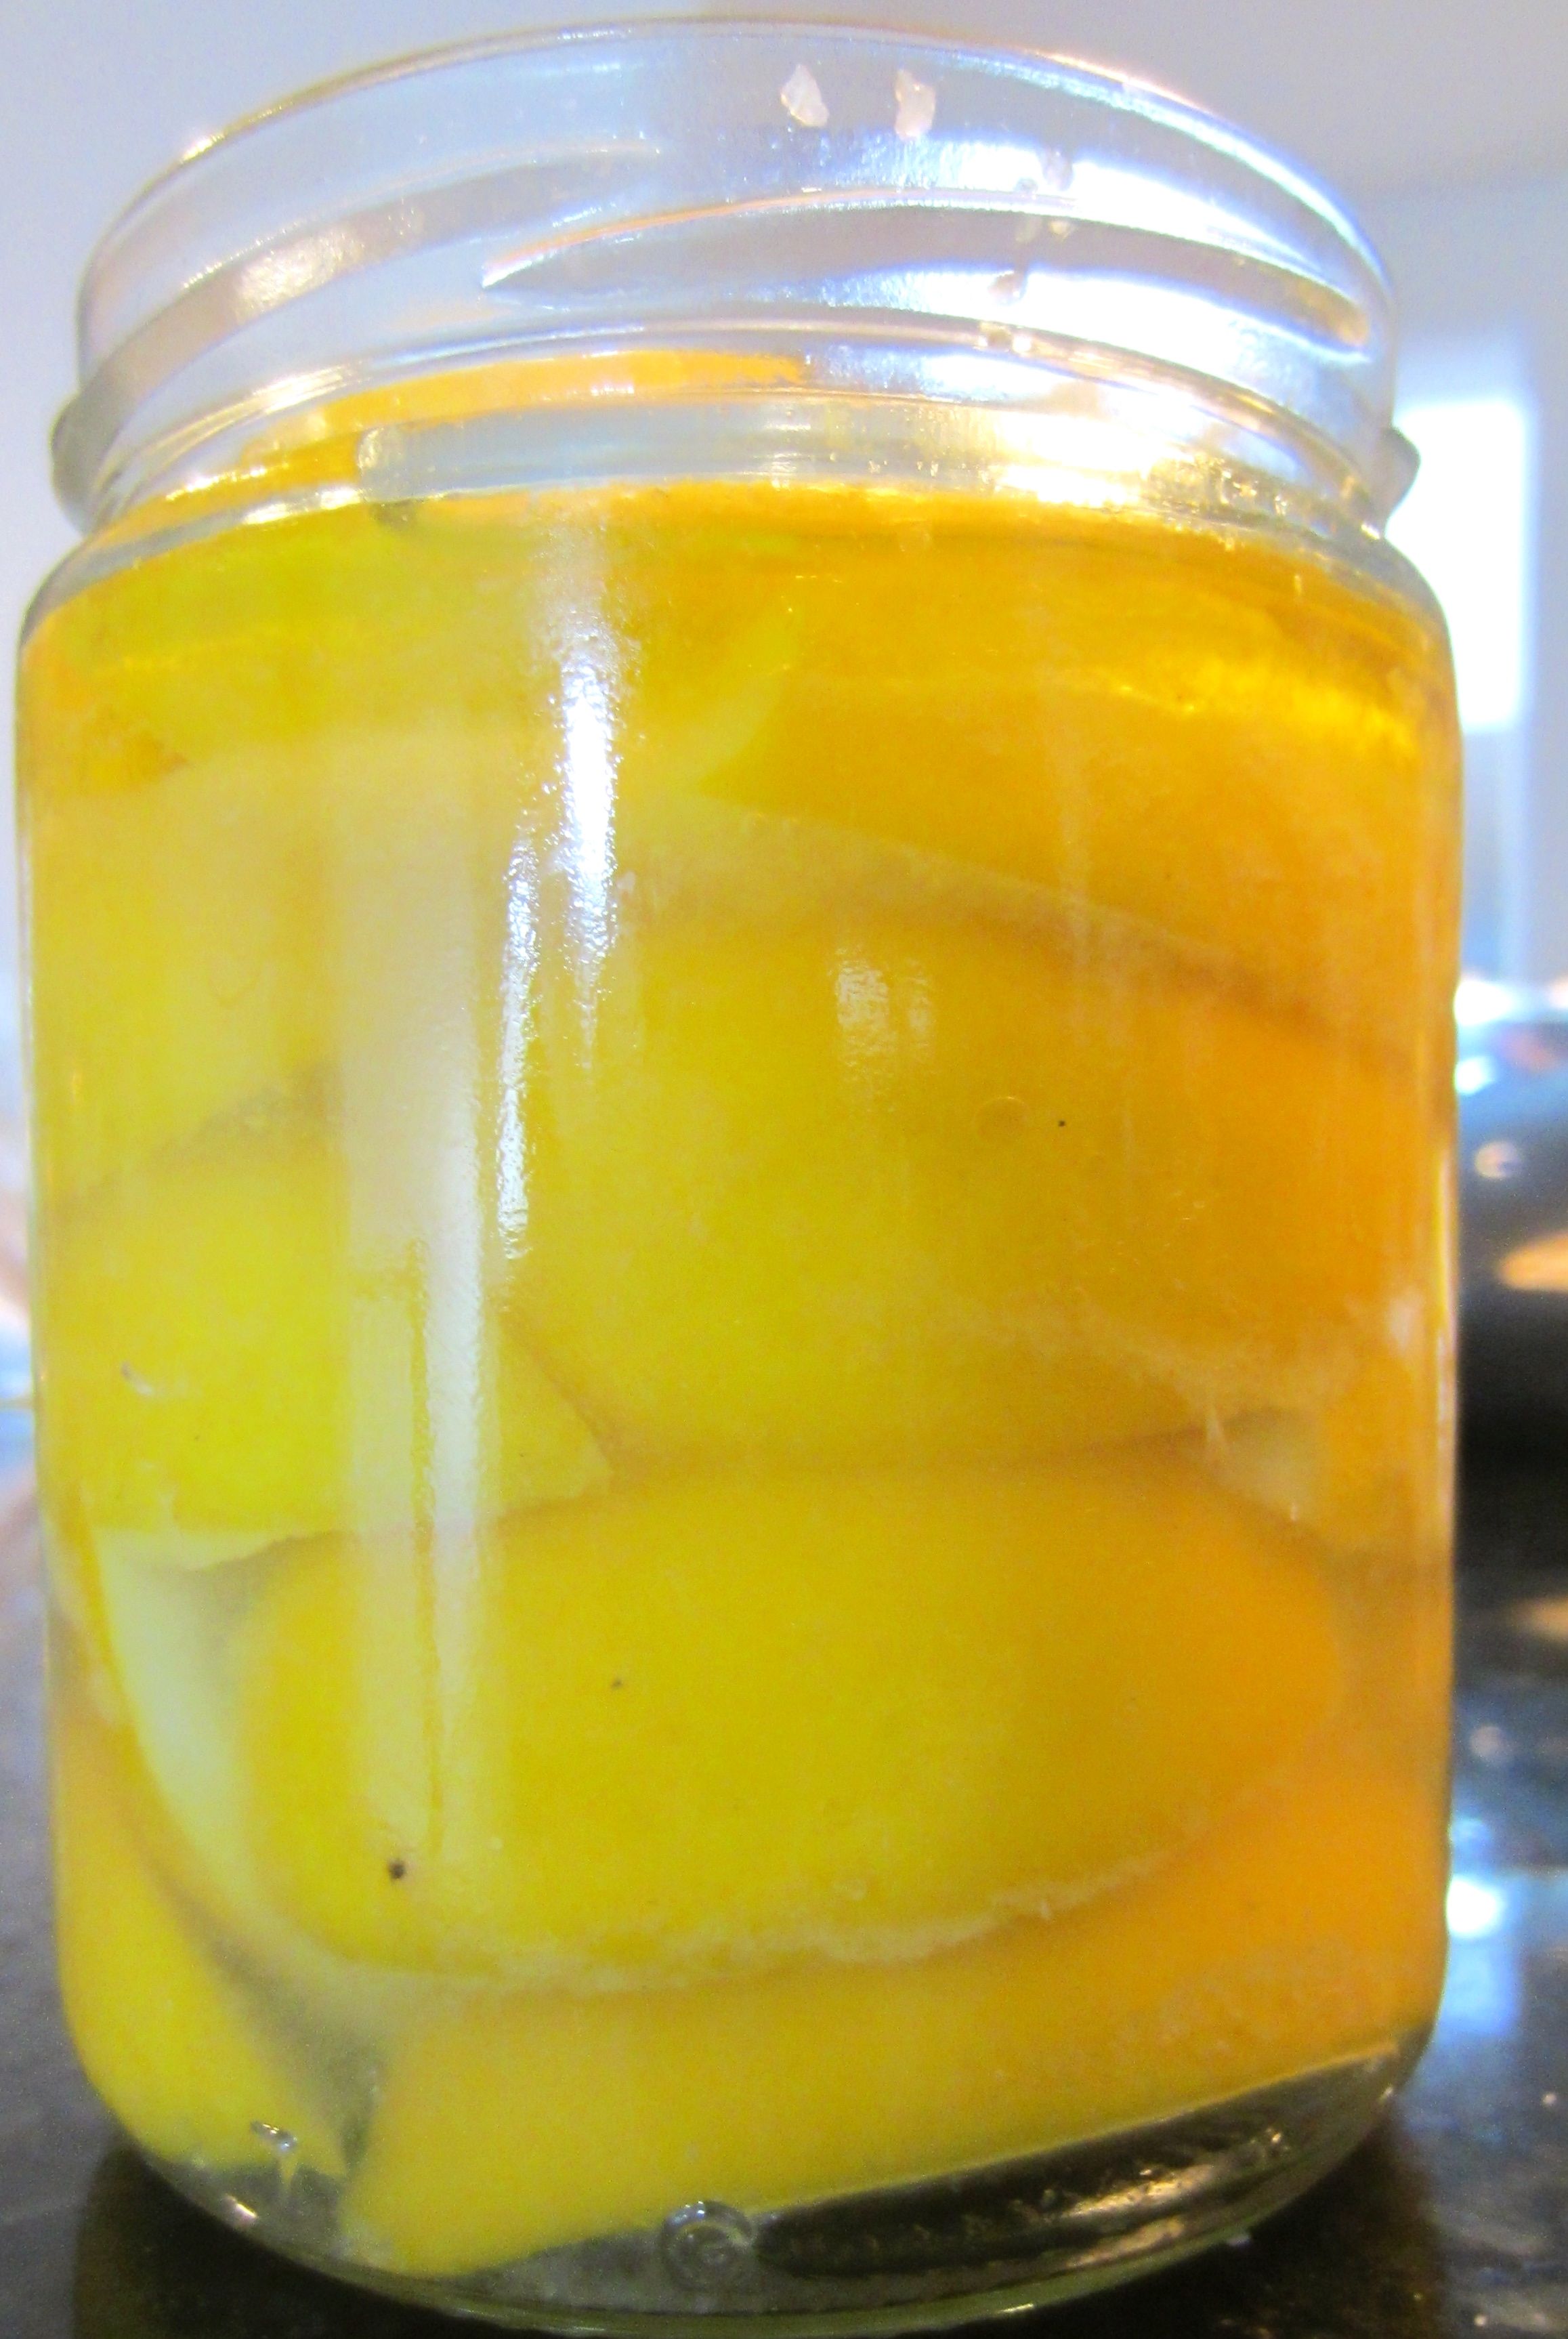
Now, press down hard on the lemons with your fingers to release the juices. Add one more layer of lemon wedges on the top, press down again to compact them. Ideally, you want juice on top – meaning you’ve released enough of the juices to cover the lemon wedges. If needed, squeeze the juice from some of the remaining wedges to accomplish this. Top with 1 final Tbsp of the coarse salt. Your now compacted jar of lemons should look like this:
Close the jar with the lid tightly, and give the whole thing a gentle shake to distribute the salt and juices, and place on the kitchen counter where it will be out of direct sunlight. You will want to leave it out for a full two weeks to let the preserving process take full effect. Shake the jar every couple of days to redistribute the juices but DO NOT open the jar. At the end of two weeks, open the jar to see and smell the wonderful results! Add 1 Tbsp of olive oil to the top and you can now store these in your refrigerator for about 6 months.
I hope you enjoy these…I really do think they add a little touch of heaven to your cooking.
Bon appetit!

0 Comments